Crossing the River by Feeling the Stones
The story I’m about to tell celebrates an epic adventure in making stuff work.

Just over a week ago Warren Hardy turned up on our discussion channel to report problems when trying to install Mu. He was working on an ARM based single board computer (SBC).
The most famous SBC is, of course, the Raspberry Pi, but there are many alternatives, each with their own different strengths and areas of focus. Warren explained that his aim was, “to build a $99 less complete SBC/computer, that can run YouTube, basic office software and be used to tinker”.
The problem is Mu relies on other projects and some of this software doesn’t work on all platforms. For example, Mu uses the PyQt5 library to draw and control its user interface. However, the folks who make PyQt only release versions built for Windows, Mac and a limited number of Linux versions running on an even more limited selection of hardware. It soon became clear that Warren’s SBC wasn’t a supported platform.
Here’s where Warren demonstrated epic technical problem-solving skills.
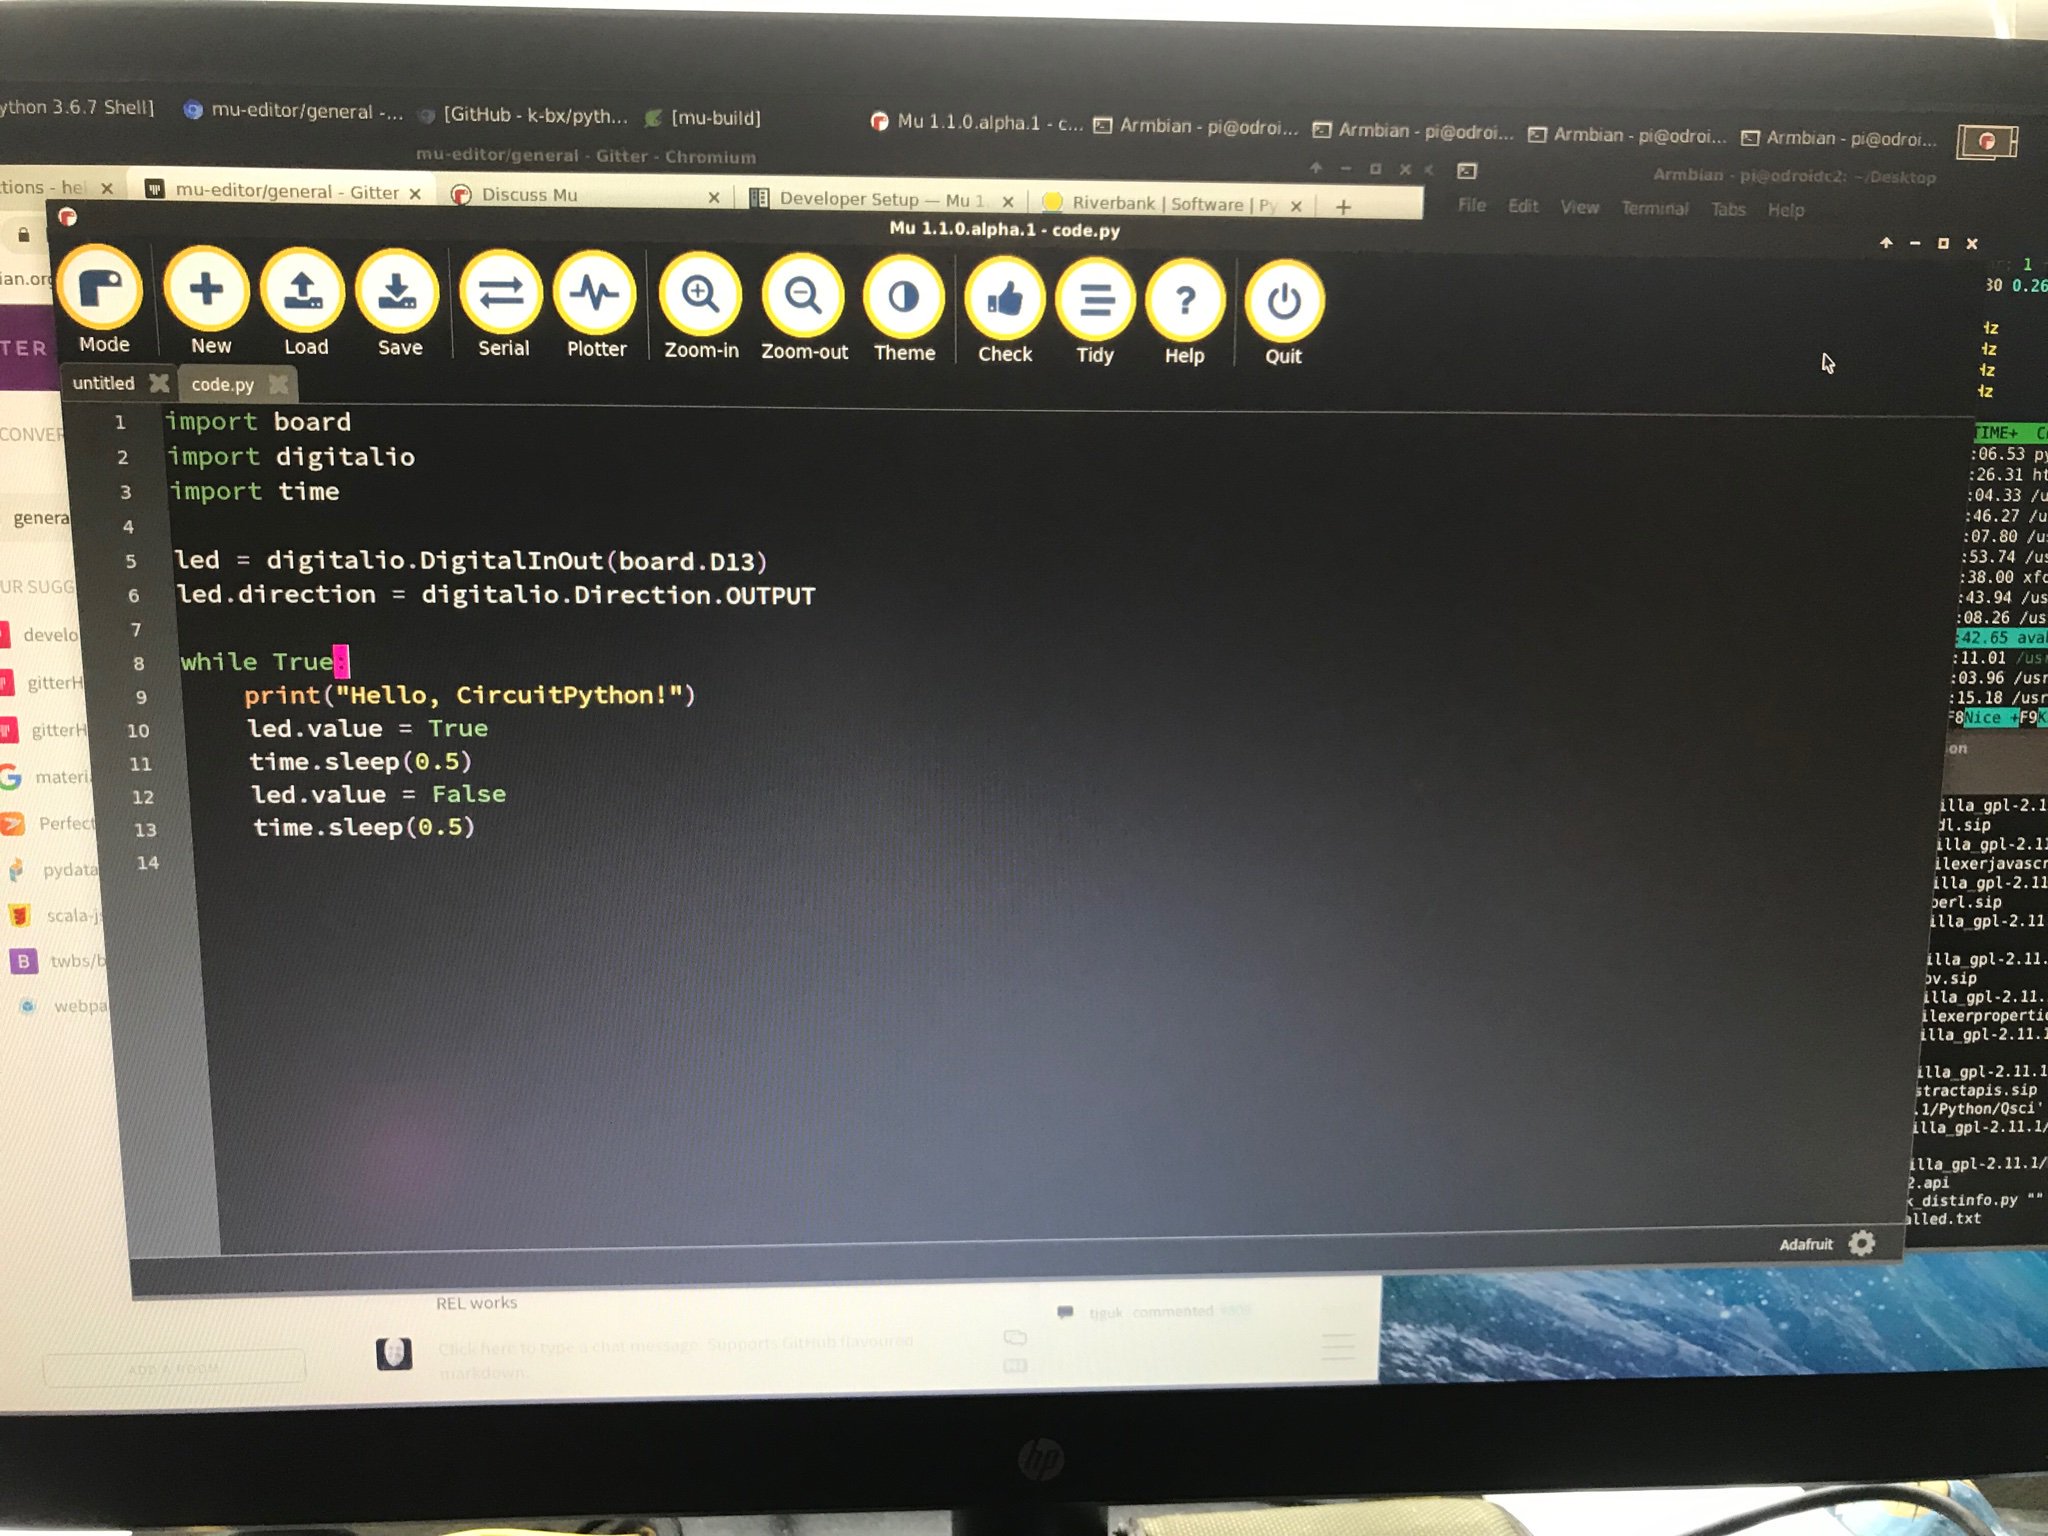
Over the course of a few days he patiently, diligently and indomitably worked through a series of over obscure problems and trials to achieve success which he celebrated with a tweet and photographic proof.

As you’ll see below, this took a huge amount of work.
So why the mention of crossing rivers in the blog title?
The Chinese leader, Deng XiaoPing described his economic reforms as, “摸着石头,过河” (crossing the river by feeling the stones). This is a wonderful characterisation of what it feels like when trying to achieve a difficult task for the first time without any help or guidance. The important thing is to be determined, pragmatic and careful to ensure you take the right steps to reach your goal. These attributes, along with an obvious technical talent, allowed Warren to cross the river to a working version of Mu.
I mentioned to Warren that other people trying to make PyQt5 work on different platforms would probably appreciated a description of the steps he took to achieve a successful build. I offered to blog these steps if he shared them, and being a generous soul, Warren emailed me the steps yesterday.
So, without further ado… here are Warren’s notes for future reference. Thank you for all the hard work Warren..!
These notes should work on any Debian/Ubuntu platform. If you have any questions please email Warren (who gave me permission to add his email details to this blog post).
Note: always sudo make install when make install is required.
Setup basic tools and libraries
sudo apt-get install build-essential qt5-default git python3-distutils python3-pip python3-dev libxmlsec1-dev libxml2 libxml2-dev libsdl1.2-dev python3-setuptools python3-numpy python3-opengl libsdl-image1.2-dev libsdl-mixer1.2-dev libsdl-ttf2.0-dev libsmpeg-dev libsdl1.2-dev libportmidi-dev libswscale-dev libavformat-dev libavcodec-dev libtiff5-dev libx11-6 libx11-dev fluid-soundfont-gm timgm6mb-soundfont xfonts-base xfonts-100dpi xfonts-75dpi xfonts-cyrillic fontconfig fonts-freefont-ttf libfreetype6-dev libqt5charts5 libqt5charts5-dev libffi-dev python3-gpiozero virtualenv libqt5serialport5-devlibqt5serialport5 libqt5svg5 libqt5svg5-dev libqt5serialport5-dev
DO NOT INSTALL python3-pyqt5 python3-pyqt5.qsci python3-pyqt5.qtserialport
python3-pyqt5.qtsvg.
Required Python Packages
wget https://pypi.python.org/packages/48/69/d87c60746b393309ca30761f8e2b49473d43450b150cb08f3c6df5c11be5/appdirs-1.4.3.tar.gz
gunzip appdirs-1.4.3.tar.gz
tar -xvf appdirs-1.4.3.tar
cd appdirs-1.4.3
sudo python setup.py install
cd ..

pip3 install pycodestyle
pip3 install pyflakes
pip3 install serial
pip3 install pyserial

git clone https://github.com/k-bx/python-semver
cd python-semver
sudo python3 setup.py install
cd ..
Setup SIP (needed by PyQt5)
wget https://www.riverbankcomputing.com/static/Downloads/sip/4.19.15/sip-4.19.15.tar.gz
gunzip sip-4.19.15.tar.gz
tar -xvf sip-4.19.15.tar
cd sip-4.19.15
python3 configure.py
make
sudo make install
python3 configure.py --sip-module PyQt5.sip --no-dist-info --no-tools
cd ..
Setup PyQt5
wget https://www.riverbankcomputing.com/static/Downloads/PyQt5/5.12.1/PyQt5_gpl-5.12.1.tar.gz
tar -xzvf PyQt5_gpl-5.12.1.tar.gz
cd PyQt5_gpl-5.12.1
python3 configure.py
make -j 4 # (the -j x, is number of cores on the processer, speeds up compiling)
sudo make install
cd ..
Setup QScintilla
wget https://www.riverbankcomputing.com/static/Downloads/QScintilla/2.11.1/QScintilla_gpl-2.11.1.tar.gz
tar -xzvf QScintilla_gpl-2.11.1.tar.gz
cd QScintilla_gpl-2.11.1//Qt4Qt5
qmake
make -j 4 (the -j x, is number of cores on the processer, speeds up compiling)
sudo make install
cd Python
python3 configure.py --pyqt=PyQt5
make
sudo make install
cd ../..
Setup PyQtChart
wget https://www.riverbankcomputing.com/static/Downloads/PyQtChart/5.12/PyQtChart_gpl-5.12.tar.gz
tar -xzvf PyQtChart_gpl-5.12.tar.gz
cd PyQtChart_gpl-5.12
python3 configure.py
cd ..
Setup PyGame
wget https://files.pythonhosted.org/packages/71/4f/b3a521bb4db6ef696bcffca58b833aa2e84f7e7c142951d506d840ced57a/pygame-1.9.5.tar.gz
tar -xzvf pygame-1.9.5.tar.gz
cd pygame-1.9.5
sudo python3 setup.py
cd ..
Setup Cryptography Library
sudo pip3 install cryptography --no-binary cryptography
Install and Configure Mu
virtualenv -p /usr/bin/python3 --system-site-packages ~/mu-venv
source ~/mu-venv/bin/activate
git clone https://github.com/mu-editor/mu.git ~/mu-source
cd ~/mu-source
pip3 install -r requirements.txt
Edit the setup.py file so the install_requires section looks like this:
install_requires = ['pycodestyle==2.4.0', 'pyflakes==2.0.0',
                    'pyserial==3.4', 'pyqt5==5.12.1', 'qscintilla==2.11.1',
                    'qtconsole==4.3.1', 'matplotlib==2.2.2',
                    'pgzero==1.2', 'PyQtChart==5.12', 'appdirs>=1.4.3',
                    'gpiozero>=1.4.1', 'guizero>=0.5.2',
                    'pigpio>=1.40.post1', 'Pillow>=5.2.0',
                    'requests>=2.19.1', 'semver>=2.8.0', 'nudatus>=0.0.3',
                    "black>=18.9b0; python_version > '3.5'"]
Now type sudo python3 setup.py install to install Mu!
Finally, there needs to be some post-install configuration:
cd /usr/share/applications
Change the mu.editor.desktop file found in the /usr/share/applications
directory to:
[Desktop Entry]
Name=mu-editor
Comment=Simple Python editor
Exec=mu-editor
Icon=/usr/share/pixmaps/mu.png
Terminal=false
Type=Application
MimeType=text/plain
Categories=GTK;Development;TextEditor;
Keywords=Python;text;editor;
InitialPreference=6
Download the icon.
cd /usr/share/pixmaps
sudo wget https://codewith.mu/img/brand.png
sudo mv brand.png mu.png
That’s it..!
 Made With Mu